How to Write a Move-In Inspection Report (With Free Template)
Security-Deposit Disputes Start with Missing Documentation
Most security-deposit conflicts do not begin with a bad tenant or an unfair landlord. They start because no one documented the baseline.
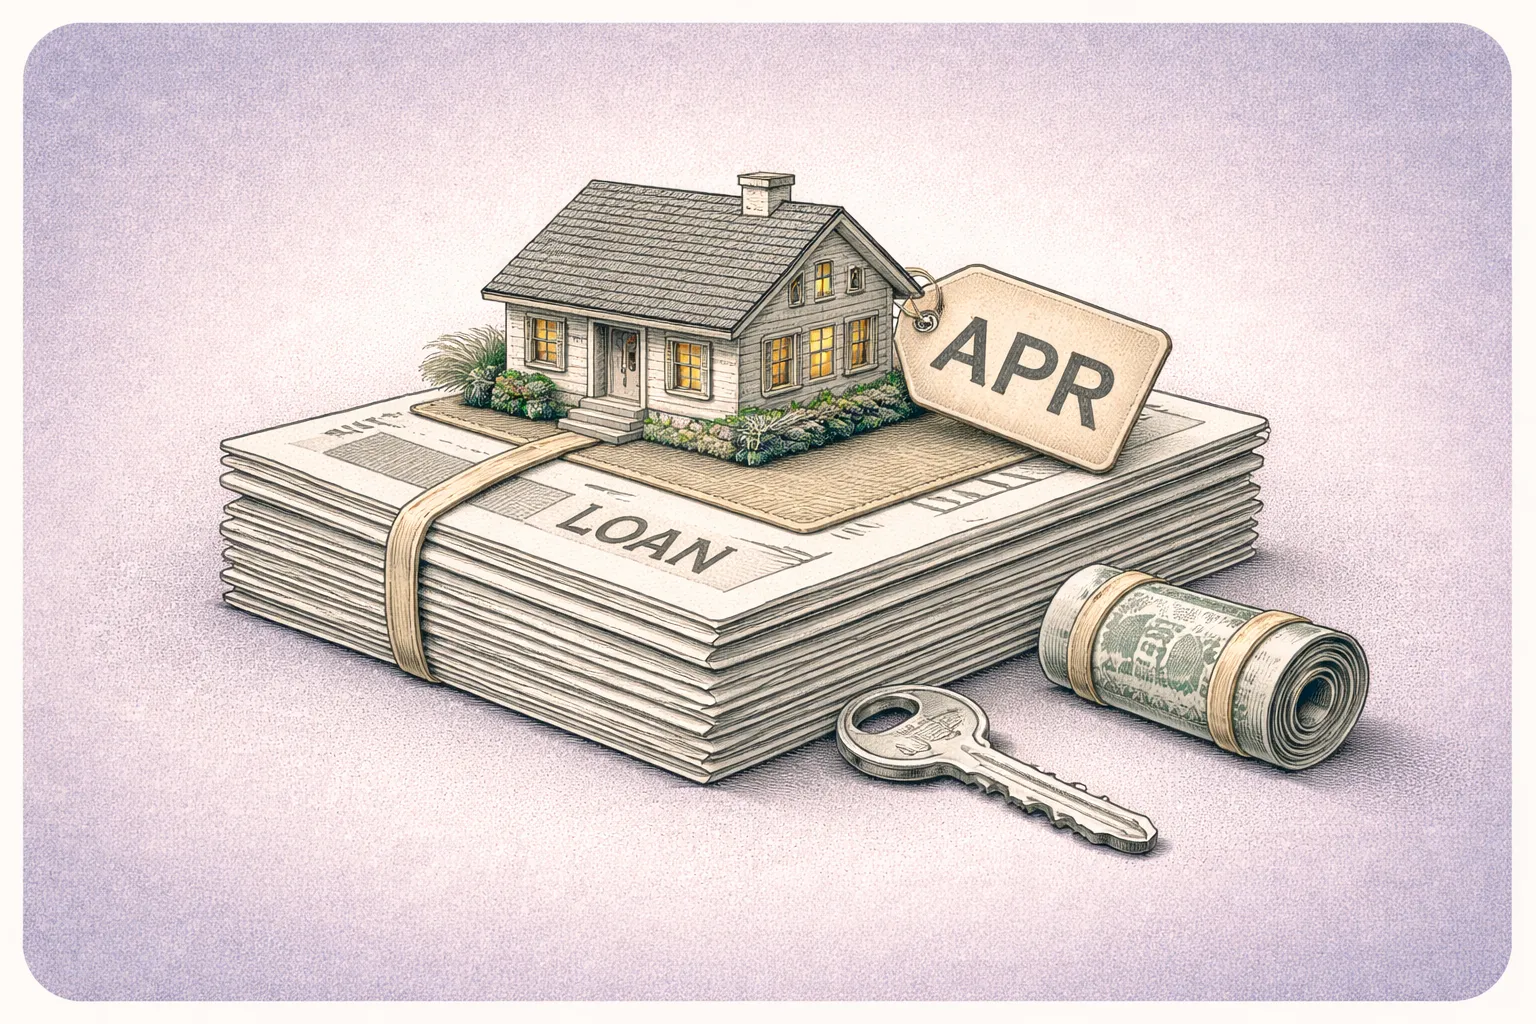
Security-deposit cases are among the most common landlord-tenant disputes in small-claims court, and the outcome usually hinges on one question: proof. Tenants frequently challenge unreturned deposits or deductions they believe are unjustified, and landlords are expected to show evidence that a charge was legitimate and tied to tenant-caused damage, not normal wear and tear, per Nolo's small claims guidance. When you cannot clearly show what the unit looked like on day one, a judge is left with competing stories. That is a risky place to be.
Renters are also primed to question deductions. A national renter survey from Roost found 59% do not expect to receive a full refund, and 51% cite poor communication about deposit refunds as a top frustration. That combination (expectations of loss plus unclear documentation) creates predictable conflict.
A strong move-in inspection report is the simplest way to protect both sides. It sets a baseline condition, creates a shared reference point, and makes move-out deductions defensible.
Note: This article provides general education about move-in inspections and documentation practices, not legal advice. Security deposit rules, entry notice requirements, inspection obligations, and deduction standards vary by state and municipality. Before establishing inspection procedures, confirm your obligations under applicable law.
Treat documentation as your first line of defense, not an afterthought. Build an inspection report that a neutral third party can understand in five minutes.
What a Move-In Inspection Report Is (and Why It Matters)
A move-in inspection report is a written (and ideally photo-supported) record of a rental unit's condition at the start of a tenancy. Think of it as a before snapshot that you will compare against the after condition at move-out.
Many landlord associations and housing resources emphasize inspections and clear documentation as best practice because disputes tend to hinge on whether damage is new, tenant-caused, and beyond normal wear, per AAOA guidance. HUD also provides standardized inspection documentation tools used widely as models, including Move-In/Move-Out Inspection Form 90106.
In general U.S. practice, security-deposit rules require landlords to return deposits within a set deadline and to provide an itemized statement of deductions when withholding. While timelines vary by state, roughly 30 days is a common standard in many jurisdictions and guidance materials.
The move-in report matters because it helps you prove that a deduction at move-out is tied to a change in condition during the tenant's stay, not a pre-existing defect.
Two concrete examples of what a baseline prevents:
Scuffed hardwood at move-out. If your move-in photos show the same scuffs already present, you avoid an unfair charge and a likely dispute.
Stained carpet in a bedroom. If move-in documentation shows "clean, no stains" plus a date-stamped photo, you are positioned to justify a cleaning or replacement charge (subject to local rules on depreciation and wear).
Use the inspection report as a comparison tool for move-out, not just a check-the-box task. Pair written notes with photos or video so your record is hard to challenge.
Step-by-Step: How to Conduct a Move-In Inspection
Step 1: Schedule It at the Right Time
The best time to conduct the inspection is the day keys are delivered, while the unit is still empty and before the tenant moves furniture in. Inspection guides commonly recommend doing it when the unit is rent-ready, utilities are on, and cleaning/repairs are complete, per HappyCo and Lawyers.com guidance.
Also, be mindful of entry/notice rules. Many states require advance notice for non-emergency entry (often 24 hours), and statutes like California's entry law (Civil Code 1954) are frequently cited examples in landlord education materials.
Examples:
Tenant asks to do it later. Offer two options: a live walkthrough at key handoff, or a video walkthrough plus a written checklist they return within a set window.
A unit is mostly ready but paint touch-ups remain. Reschedule. Unfinished work makes your baseline ambiguous.
Anchor the inspection to key delivery and vacancy. Do not document a unit mid-repair. Document the final, rent-ready condition.
Step 2: Use a Standardized Form and a Consistent Rating System
A solid report is consistent and scannable. HUD's Form 90106 is a widely used reference format that demonstrates how to structure categories and condition notes. Landlord association checklists also push for consistent itemization so you can compare like to like later, per AAOA.
Use a simple rating scale (for example: New / Good / Fair / Needs Repair) and apply it to every room and system. Then add a short note for anything that is not New/Good.
Examples:
"Living room walls: Good, two nail holes near window trim (photo LR-03)."
"Bathroom fan: Fair, runs loud, still functional (video clip BA-01)."
"Stove top: Good, front right burner shows discoloration (photo KIT-07)."
A rating scale reduces vague language like fine or okay. Always pair ratings with specific, photo-referenced notes for exceptions.
Step 3: Inspect Room-by-Room, but Do Not Ignore Systems and Safety Items
Room-by-room checklists are effective because they reduce missed items. Start with exterior/entry (locks, doors) and move inward. Many inspection guides recommend documenting all surfaces, fixtures, and appliances, plus safety devices, per AllPropertyManagement.
For safety-related items, HUD's Housing Quality Standards (HQS) provide useful benchmarks (for example, operational safety features and basic habitability indicators) under 24 CFR 5.703. If your jurisdiction uses different standards, follow local requirements.
What to document in each space:
Walls/ceilings/trim: stains, cracks, nail holes, paint condition. Floors/carpets: scratches, stains, tears, loose transitions. Windows/doors: operation, locks, screens, weatherstripping. Fixtures: lights, fans, outlets, switches; note GFCI presence where applicable. Appliances: condition and completeness (racks, shelves, trays). Safety devices: smoke/CO detectors present and functioning where required; note test results.
Examples:
"Bedroom 2 carpet: Fair, small stain (2 inches by 2 inches) near closet; tenant acknowledges at move-in (photo BR2-04)."
"Front door deadbolt: Good, rekeyed; tenant tested lock during walkthrough."
"Kitchen sink: Good, no leaks under cabinet; photo includes plumbing area."
Systems (locks, plumbing under sinks, detectors) matter as much as cosmetics. If you document it now, you will not argue about it later.
Step 4: Take Photos and Video Like Evidence (Because It Is)
Courts and disputes reward clarity. Guidance on disputes emphasizes documentation (photos and written reports) because the landlord must justify deductions, per LegalAtoms and Nolo. Best practice inspection resources recommend capturing both wide shots and close-ups, ideally time-stamped and organized, per HAR.com.
A simple standard:
Wide shot of each wall/floor area per room (establish context). Close-up of every defect (establish detail). One short video pass per room (helps rebut "you photographed only the bad spots").
Also record appliance model/serial numbers to prevent disputes over missing/replaced equipment and to streamline warranty/maintenance later, per RentCheck.
Examples:
You note "scratch on fridge door." Add a close-up plus a wide photo showing the entire appliance and surrounding cabinetry.
You photograph a hairline crack in a sink. Include a second photo with a coin or tape measure for scale.
You capture the water heater serial plate and attach it to the report.
Photos without organization are nearly as bad as no photos. Treat your camera roll as a future exhibit: clear, dated, labeled, complete.
Step 5: Do It with the Tenant Present, Then Sign and Deliver Copies
Whenever possible, conduct the move-in inspection with the tenant present. It lowers tension and reduces later "I never saw that" claims. After you finish, review exceptions together and have both parties sign. Tenant participation is a common best-practice recommendation in inspection guidance because it builds mutual agreement on baseline condition, per Avail and AAOA.
Deliver a copy promptly. Digital delivery is increasingly aligned with renter expectations (and reduces "I lost my copy" issues). Roost's survey found 92% of renters prefer digital reimbursement methods for deposit refunds, reflecting broader preference for digital handling of deposit-related processes.
If a tenant refuses to sign:
Write "Tenant declined to sign; copy provided on (date/time)" on the form. Offer a short written window for the tenant to submit corrections (see next step). Keep communication factual and non-accusatory.
Examples:
Tenant disputes "two nail holes" and says there are four. Amend the line item and initial the change (or attach an addendum).
Tenant cannot attend key handoff. You perform the walkthrough, send the report the same day, and require return notes within a set timeframe.
Signature plus delivery turns your report into a shared baseline, not a landlord-only document. When a tenant will not sign, document the refusal and preserve your process.
Step 6: Allow a Short Correction Window and Lock the Record
Many landlords allow a brief post-move-in period for tenants to note items they discover after living in the unit (commonly 72 hours as a practice standard; some jurisdictions specify a timeframe). If you use a correction window, treat it as controlled documentation, not an open-ended renegotiation.
How to do it:
Tell the tenant they must submit notes in writing (email is fine). If you agree, create "Addendum A" with the added items and attach photos. Keep the original report unchanged. Preserve the chain of documentation.
Examples:
Tenant reports "window in Bedroom 1 sticks." You verify, note it, and schedule repair. This also protects you from later claims that the tenant caused it.
Tenant claims "stain in hallway existed." If your photos show it was not there, you politely decline to amend and keep your record.
A correction window builds fairness and reduces conflict. Keep version control (original plus addendum) so the record is credible.
Free Move-In Inspection Report Template
A strong template does two jobs: it makes the inspection faster, and it makes the final report easier to defend. The most effective templates borrow from established formats like HUD's move-in/move-out inspection form structure (room categories, item lines, condition ratings, notes) and landlord association checklists that emphasize consistency and completeness.
What your template should include (and why it matters):
Property and tenancy header: address, unit, tenant names, lease start date, inspection date/time, who attended. This helps authenticate the report later.
Condition scale legend: so "Good" means the same thing across units and years.
Room-by-room sections: entry/exterior, living areas, bedrooms, kitchen, baths, laundry/utility, garage/storage, patio/balcony (if applicable).
Systems and safety checklist: locks/keys, smoke/CO detectors, GFCI/AFCI where present, HVAC filter status, water shutoff location (helpful for emergencies).
Appliance model/serial fields: refrigerators, ranges, dishwashers, microwaves, washer/dryer if provided, per RentCheck.
Photo index: a simple table that links each defect note to a photo label (for example, "KIT-07").
Signature lines plus refusal language: "Tenant declined to sign; copy delivered on ___" to preserve the record if needed.
Two tips when you use the template:
Print it (or load it on a tablet/phone) and follow it in the same order every time. Consistency is your friend in disputes. Use the photo index fields as you go. Do not match photos later unless you want an organizational headache.
Frequently Asked Questions
What is the difference between normal wear and tear and damage?
Normal wear and tear is the expected deterioration from ordinary use (for example, minor carpet matting in a high-traffic area). Damage is usually sudden, negligent, abusive, or outside normal use (for example, a torn carpet, broken tile, or large unapproved holes). Landlord education resources repeatedly stress making this distinction because deposit disputes often hinge on it, per AAOA. Document pre-existing wear at move-in so you do not accidentally charge wear at move-out.
Do I have to do a move-in inspection?
Requirements vary by state and program type, but even where it is not strictly required, it is a widely recommended best practice. Dispute guides for small claims show that documentation is central to proving a deduction is justified, per Nolo. HUD also publishes standardized inspection forms used broadly as models. If you collect a deposit, you should treat inspections as mandatory for risk management.
What if the tenant refuses to sign the report?
Do not panic and do not argue. Note the refusal directly on the report, document that a copy was provided, and invite the tenant to submit written corrections within a short window (your policy and local law should guide timing). Your photos/video and your consistent process are still valuable evidence in a dispute, per HAR.com. A refusal to sign is a documentation issue, not a deal-breaker, if your record is thorough.
How does the move-in report affect move-out deductions?
At move-out, you are typically expected to send an itemized list of deductions when withholding deposit funds, and many jurisdictions impose strict deadlines (commonly around 30 days). The move-in report is your baseline: it supports "this item changed" and "this cost is tied to that change." Line up your move-out itemization to the same categories as your move-in report so comparisons are obvious.
What to Do Next
If you manage even a small portfolio, the hardest part of inspections is not walking the unit. It is producing clean, consistent documentation months later when a tenant challenges a deduction. Photos get lost in camera rolls, forms end up in email threads, and "I know it was there" is not proof in small claims, per Nolo.
Shuk's document storage keeps move-in checklists, condition photos, and inspection records organized in one place per unit, so your baseline is easy to retrieve and compare at move-out. Maintenance request tracking creates a documented condition history over the tenancy (work orders, vendor invoices, completion photos), which strengthens your position if you need to show that damage occurred during the lease. Centralized in-app messaging with email and push notifications keeps tenant communication about condition issues time-stamped and searchable.
At $5 per unit per month with no setup fees, and with White Glove Onboarding included at no additional cost, Shuk makes documented, defensible property management feasible for landlords and property managers running 1 to 100 units.
Book a demo at shukrentals.com/book-a-demo to see how document storage, maintenance tracking, and messaging work together so your inspection records are organized, retrievable, and dispute-ready.