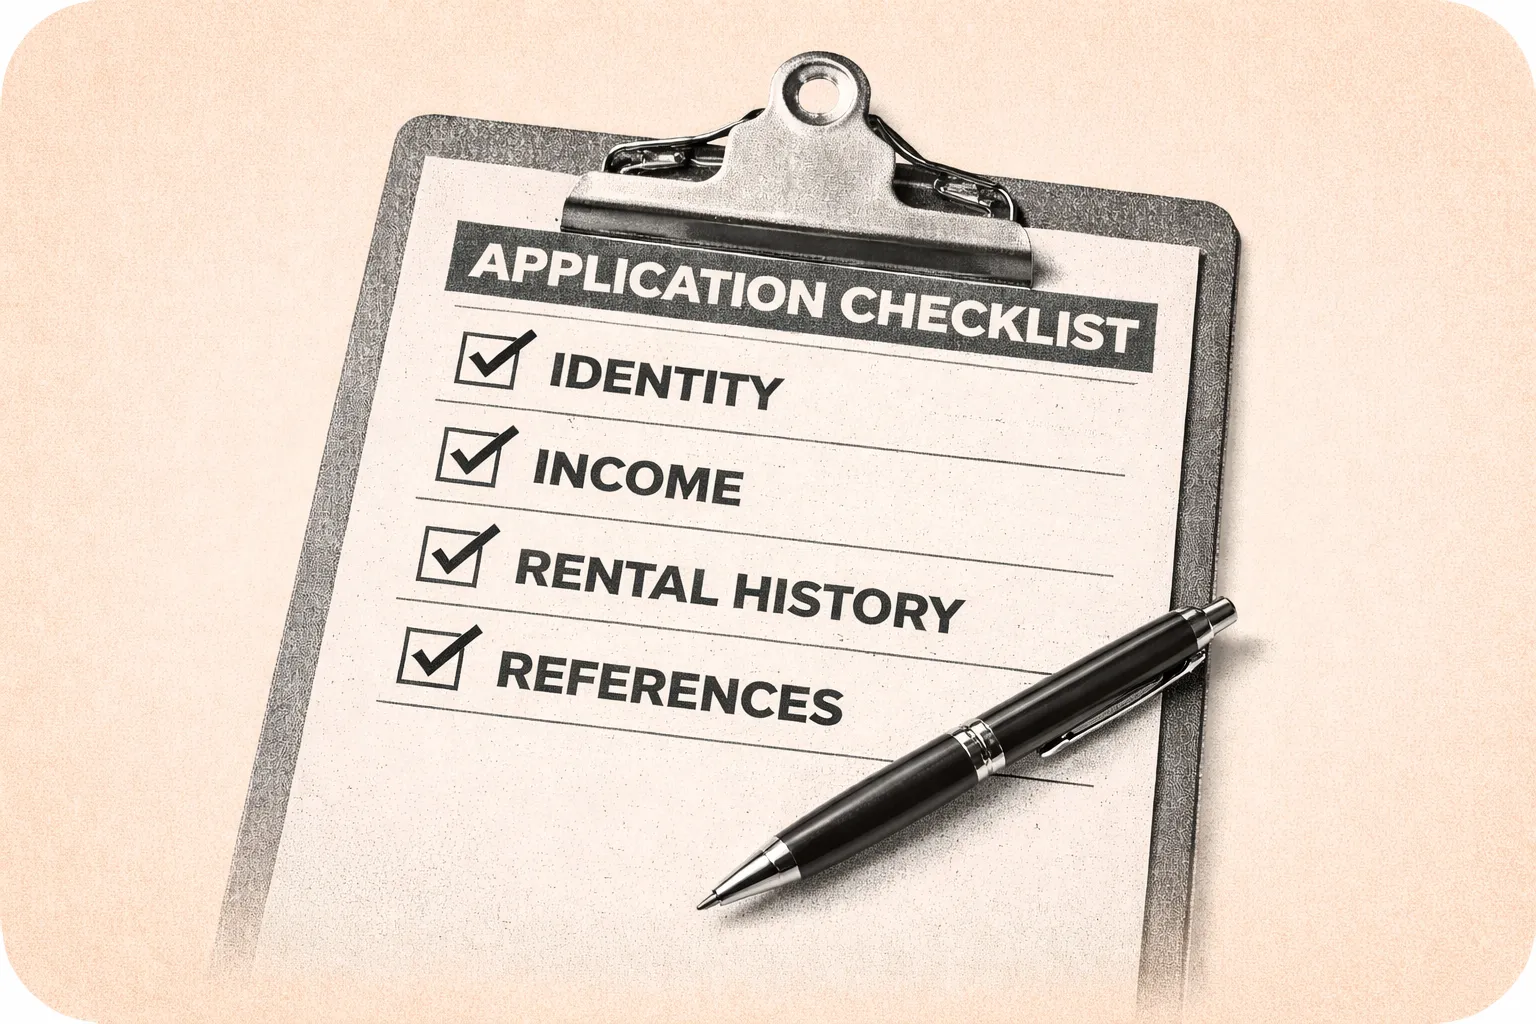
Background Check Guide
A tenant background check is a structured review of consumer reports covering credit, eviction history, and criminal records used to evaluate an applicant's rental risk before a lease is signed. For independent landlords, a background check is most useful when it is interpreted in context rather than applied mechanically: an eviction filing is not the same as an eviction judgment, a thin credit file is not the same as a derogatory credit history, and an arrest record without a conviction is not a legitimate basis for denial under HUD guidance. The background check process that protects cash flow and legal standing is one where written criteria define what each report element means for a decision, individualized review applies when results are ambiguous, and adverse action notices are sent whenever a report influences a denial or less favorable terms.
This guide is part of the Tenant Screening Hub for independent landlords building a compliant, fraud-resistant screening process.
Why Background Check Interpretation Matters as Much as the Report Itself
Running a background check and interpreting a background check are two different skills. The failures that produce expensive outcomes, whether the wrong denial that triggers a fair housing complaint or the wrong approval that leads to a costly eviction, come from interpreting results without a defined framework.
The most common background check interpretation failures are treating all eviction history as equivalent regardless of whether the case was a filing or a judgment; applying blanket criminal history exclusions that HUD has identified as likely to produce discriminatory effects; using credit scores as the primary or sole indicator of rental risk rather than evaluating the payment patterns that actually predict housing behavior; and failing to resolve identity mismatches before making a decision on a report that may belong to a different person.
Step-by-Step: How to Run and Interpret a Tenant Background Check
Step 1. Write Criteria for Each Report Element Before Ordering Reports
Every element of a background check should have a defined evaluation standard before any applicant's report is reviewed. This prevents the most common fair housing failure in background check interpretation: making up the standard after seeing the result.
For the complete seven-step FCRA-compliant screening workflow including how to structure written criteria, obtain authorizations, and send adverse action notices, see the tenant screening compliance requirements guide.
Credit criteria should specify what patterns you evaluate, how you treat specific derogatory items, and what compensating factors allow approval despite a concerning profile. Eviction criteria should specify what distinguishes a disqualifying eviction outcome from a reviewable one. Criminal history criteria should specify which offense categories are relevant to housing safety, what lookback period applies, and what individualized assessment factors are considered.
Step 2. Obtain FCRA Authorization Before Ordering Any Consumer Report
The Fair Credit Reporting Act requires written authorization from the applicant before obtaining a consumer report. Permissible purpose exists when the report is being used to evaluate an actual housing application. Pulling a report on a prospect who toured but never submitted an application does not satisfy this standard. The authorization must be captured in writing and retained in the application file tied to the application date.
Fair housing obligations apply from the moment an application is received — for the full overview of protected classes and compliance requirements across the application stage, see the fair housing overview guide.
Step 3. Order the Appropriate Report Bundle for Your Property and Jurisdiction
A complete background check typically includes credit with tradeline detail, eviction and civil court records, and criminal records where permitted by local law. Some jurisdictions impose restrictions on when criminal history can be considered. New York City's Fair Chance for Housing law restricts criminal history inquiries until after a conditional offer is made. Cook County, Illinois requires a two-step process with limits on lookback periods. Seattle's fair chance framework has its own parameters. Confirm what your jurisdiction permits before ordering a criminal background check.
Step 4. Interpret Credit as a Pattern, Not a Single Number
Credit screening should answer two questions: does the applicant have the capacity to pay the rent, and do their payment patterns suggest they prioritize housing obligations? Evaluate the payment pattern across the tradelines in the report. Repeated 30 to 60-day late payments across multiple accounts are a stronger risk signal than a single isolated late. Housing-related tradelines and recent stability in the last 12 to 24 months are directly relevant to rental risk. Avoid inferring anything about protected class characteristics from credit data.
Step 5. Interpret Eviction History with Context: Filings, Judgments, Dismissals
The distinction between a filing and a judgment matters significantly for risk assessment. An eviction filing shows that a landlord initiated court proceedings. Filings do not always result in removal: many are dismissed, settled, or withdrawn. A filing from five years ago that was dismissed and followed by four years of stable tenancy is a different risk signal than a judgment from 12 months ago.
When an eviction record appears, ask the applicant for documentation of the outcome and the circumstances. Multiple eviction filings in a short timeframe, even if some were dismissed, indicate a chronic payment conflict pattern that is a legitimate basis for concern. Document the specific outcome identified, the applicant's explanation, any supporting documentation, and the decision rationale.
Step 6. Apply Individualized Assessment for Criminal History
HUD has explicitly cautioned that blanket criminal history exclusions are likely to produce discriminatory effects and has recommended individualized assessment. An individualized assessment considers the nature and severity of the offense and its relevance to housing safety, the recency of the offense and any evidence of rehabilitation, and whether the specific conduct creates a demonstrable nexus to the risk being evaluated. Arrests without convictions should not be used as a basis for denial.
For the complete eight-step operational blueprint for reducing discrimination risk including the individualized criminal history assessment framework, see the fair housing compliance guide.
Build an individualized assessment form that captures these factors for every applicant whose background check returns a reportable criminal record. Store the completed form in the applicant file.
Step 7. Make the Decision and Complete the Adverse Action Process
Once all reports have been reviewed against your written criteria, record the decision with the specific basis. If the decision was influenced in whole or in part by information in a consumer report, FCRA adverse action requirements apply. The adverse action notice must include the name and contact information of the reporting agency, a statement that the agency did not make the decision, and the applicant's right to obtain a free copy of the report within 60 days and to dispute inaccuracies. Send the notice promptly and retain proof of delivery.
For the complete framework covering how to structure, store, and retain screening files including retention schedules and access controls, see the landlord documentation best practices guide.
For a breakdown of the most costly screening process errors including missing adverse action notices and inconsistent criteria application, see the common tenant screening mistakes guide.
Background Check Compliance Checklist
Before ordering any report: Written criteria established for each report element. FCRA authorization obtained. Jurisdiction-specific criminal history rules confirmed. Application completeness verified.
Report ordering: Permissible purpose confirmed. Report bundle appropriate for property type and jurisdiction. Authorization and report stored together.
Credit interpretation: Payment patterns evaluated rather than single score. Recent stability reviewed. No inferences about protected class characteristics.
Eviction interpretation: Filing vs. judgment distinguished. Disposition and recency evaluated. Applicant provided opportunity to explain and document.
Criminal history: Arrest-only records excluded. Offense category, recency, and housing relevance evaluated. Individualized assessment form completed and stored.
Decision and notices: Decision recorded with specific criteria basis. Adverse action notice sent promptly when report influenced decision. Complete file retained.
Frequently Asked Questions
What does a tenant background check include?
A complete tenant background check typically includes a credit report with tradeline detail, eviction and civil court records, and criminal records where permitted by local law. Credit shows payment patterns and derogatory history. Eviction records show court filings and judgments. Criminal records show convictions and pending cases. The specific combination should match the risks you are evaluating and comply with the restrictions that apply in your jurisdiction.
What is the difference between an eviction filing and an eviction judgment?
An eviction filing is a court case initiated by a landlord that does not establish the tenant was removed. Many filings are dismissed, settled, or withdrawn. An eviction judgment is a court finding that the landlord was entitled to possession. Judgments carry significantly more weight as a risk signal. When an eviction record appears, determining whether it was a filing or a judgment and what the disposition was is the most important interpretive step before using it in a decision.
Can a landlord deny an applicant based on a criminal background check?
Yes, with a documented individualized assessment. HUD has cautioned that blanket exclusions are likely to produce discriminatory effects and recommends evaluating the nature, severity, and recency of convictions and their relevance to housing safety. Arrests without convictions should not be used as a basis for denial. A written policy specifying offense categories, lookback periods, and the individualized assessment process applied consistently to every applicant is significantly more defensible than an informal standard.
When is an adverse action notice required after a background check?
An adverse action notice is required any time a consumer report contributes to a denial or to less favorable terms. The notice must include the reporting agency's contact information, a statement that the agency did not make the decision, and the applicant's right to dispute the report's accuracy. Send it promptly and retain proof of delivery in the application file.
How do landlords handle a background check that may contain an error?
Pause the decision when a report contains results that may be inaccurate. Give the applicant a consistent opportunity to provide clarification and documentation. Contact the screening vendor about a reinvestigation if the applicant disputes the record. Document all steps taken and the final resolution before making the decision.
Book a demo to see how Shuk helps landlords stay ahead of vacancies and keep units filled.
Once a background check clears and the applicant is approved, the next compliance obligation is executing a legally complete lease — see the lease agreement legal requirements guide for required federal disclosures, state-specific addenda, and e-signature standards.

.webp)