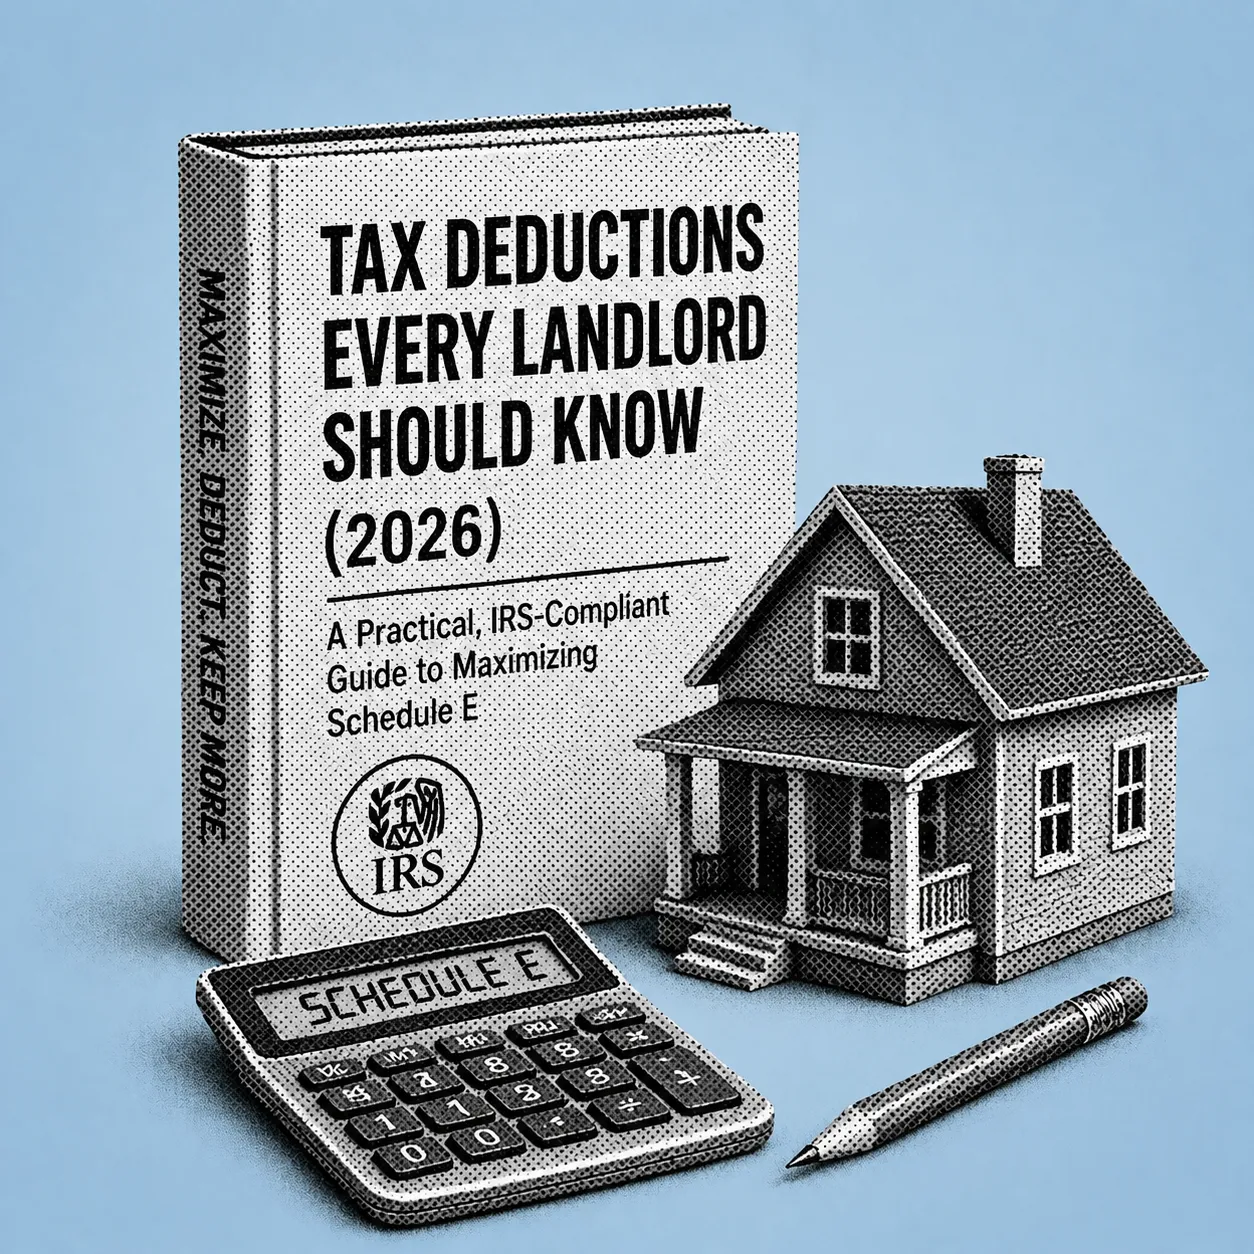
Tax Deductions Every Landlord Should Know (2026): A Practical, IRS-Compliant Guide to Maximizing Schedule E
Rental property can be one of the most tax-advantaged ways to build long-term wealth, but only if you claim the deductions you are entitled to and document them the way the IRS expects.
Miss a deduction and you overpay. Misclassify one, say calling a new roof a repair when it is an improvement, and you invite notices, disallowed expenses, penalties, and a stressful back-and-forth during an audit.
The hard part is not that deductions are hidden. It is that the rules are detailed: mortgage interest has tracing and allocation rules, points are usually amortized rather than deducted all at once, depreciation starts when the home is placed in service rather than when you close, and the repairs-versus-improvements line can change the timing of your write-off by years. The IRS lays much of this out in Publication 527 and Publication 946, but few landlords have time to translate those documents into a step-by-step system they can run all year.
This guide walks you through the major rental-property deductions for 2026, the when and how of claiming each one, and the record-keeping habits that keep you fully compliant.
What You Will Learn and Why It Matters
Most independent landlords understand the basics: collect rent, pay expenses, report net income on Schedule E. The real savings come from mastering three areas: what is deductible, when it is deductible, and how to substantiate it.
IRS guidance for residential rentals centers on Schedule E reporting and the rules in Publication 527 covering Residential Rental Property and Publication 946 covering How To Depreciate Property.
The six core deduction categories covered below are mortgage interest including points, refinances, and mixed-use allocations; depreciation covering 27.5-year building write-offs, appliances, and bonus depreciation; repairs versus improvements and how classification affects timing and audit risk; operating expenses and the everyday costs that are often missed; travel deductions covering what qualifies and how to document mileage; and home office and administrative costs covering when you can claim them and how to support the deduction.
Each section includes a plain-English definition, the IRS rule to anchor your decision, an eligibility checklist, a worked example, specific action steps, and one common pitfall to avoid.
The Six Deduction Categories: Step-by-Step Workflows
1. Mortgage Interest: Points, Refinances, and Tracing Rules
What it is: Mortgage interest is generally deductible as a rental expense when the debt is tied to your rental activity, meaning the loan proceeds were used to buy, build, or improve the rental property, or otherwise used for rental purposes under interest tracing rules. Publication 527 and Schedule E instructions emphasize proper reporting and allocation when a property has any personal-use component.
Core IRS compliance rule: If you refinance or do a cash-out refinance, you may need to allocate interest based on how the proceeds were used. You do not automatically get "all interest is rental" treatment. The temporary interest allocation regulations under 26 CFR §1.163-8T provide the tracing framework.
Eligibility checklist: The property is held out for rent or treated as a rental activity. The loan proceeds were used for rental acquisition, improvement, or operations and are traceable. You can substantiate with statements, an amortization schedule, and closing documents such as a Closing Disclosure.
Worked example: You buy a four-plex and pay $18,400 of mortgage interest in 2026. You rent all units all year. You generally deduct the full $18,400 on Schedule E as a rental expense, subject to passive loss limitations discussed in the FAQ. If you live in one unit representing 25% personal use, you typically allocate the interest between personal and rental based on a reasonable method such as square footage or unit count, deducting only the rental portion on Schedule E.
Points and loan fees: For rentals, points and origination fees are usually amortized over the life of the loan rather than deducted all at once. This is a common landlord miss that results in either a lost deduction or an improper full deduction in year one.
What to do now: Create a loan proceeds map. If you refinance, document exactly where cash-out funds went using invoices and a bank paper trail. This supports interest tracing under §1.163-8T. Also track points as an amortized asset by setting up a recurring monthly amortization entry so you do not forget a legitimate deduction that spans years.
Pitfall to avoid: Deducting 100% of interest on a cash-out refinance when part of the proceeds paid personal expenses. Without tracing and allocation documentation, that portion may be disallowed.
Mini case study: A duplex owner refinanced and used part of the cash-out to replace the HVAC, a rental improvement, and part to pay off personal credit cards. After organizing proceeds with bank transaction links and categorizing receipts, they deducted only the properly traceable interest on Schedule E, avoiding an all-or-nothing position that can collapse under scrutiny.
2. Depreciation: 27.5-Year Buildings, Appliances, and Recapture
What it is: Depreciation is the annual deduction for the wear-and-tear of your rental assets. Residential rental buildings are generally depreciated using MACRS over 27.5 years using the straight-line method with a mid-month convention. Depreciation typically begins when the property is placed in service, meaning ready and available for rent, not necessarily when you close on the purchase.
What counts: Your depreciable basis is usually the purchase price plus certain acquisition costs and later capital improvements, minus land value. Land is not depreciable. Publication 527 and Publication 946 provide the framework for basis and MACRS recovery.
Eligibility checklist: You own the property and use it for rental or income production. You can allocate land versus building value, often using local assessment records as a starting point. You track the placed-in-service date and improvement dates since the mid-month convention impacts the first-year deduction.
Worked example: You purchase a single-family rental for $400,000. Local records support allocating $80,000 to land and $320,000 to building. Your annual building depreciation is roughly $320,000 divided by 27.5 years, which equals approximately $11,636 per full year before first-year mid-month adjustments. You report depreciation on Form 4562 and flow it to Schedule E.
Appliances and shorter-life assets: Items like appliances, carpeting, and some building components may have shorter recovery periods than the 27.5-year building, often five, seven, or fifteen years, which can accelerate deductions, especially when paired with a well-supported cost segregation approach.
Bonus depreciation: Current practitioner guidance indicates 100% bonus depreciation was restored for qualifying property placed in service after January 19, 2025 under interim guidance. This generally applies to assets with recovery periods of 20 years or less and does not apply to the 27.5-year building itself. Confirm eligibility by asset type and placed-in-service date and document thoroughly before claiming.
What to do now: Separate assets in your books from day one by tracking building, land improvements, and personal property as distinct categories so you are not stuck reconstructing five years of records. Treat every major improvement as its own depreciation schedule since a roof, remodel, or new HVAC is typically a new asset placed in service when completed rather than a retroactive addition to the original building basis.
Pitfall to avoid: Skipping depreciation because it feels complicated. Depreciation can still affect gain calculations and may be subject to recapture rules when you sell under the unrecaptured Section 1250 gain concept. Not claiming depreciation does not make recapture go away.
Mini case study: A four-plex owner replaced all unit refrigerators and added new carpeting. By tracking each purchase as a separate asset class rather than burying it in the repairs category, they captured faster depreciation on personal property and kept clean support files including invoice, installation date, and unit assignment, which simplified Form 4562 reporting at tax time.
3. Repairs vs. Improvements: The Line That Changes Timing and Scrutiny
What it is: Repairs are generally costs that keep your property in ordinarily efficient operating condition and are often deductible in the year paid or incurred. Improvements generally add value, prolong useful life, or adapt the property to a new use and are typically capitalized and depreciated. Publication 527 instructs landlords to treat improvements differently from repairs.
Why it matters: This classification is one of the most common places landlords get into trouble because the tax impact is immediate. A $9,000 repair might be fully deductible now, but a $9,000 improvement may be spread over years. Tax court outcomes often turn on documentation, consistency, and the facts and circumstances of the specific work performed.
Eligibility checklist: Did the work fix a specific issue, which points toward a repair, or upgrade or replace a major component, which often points toward an improvement? Is the work part of a larger renovation plan, which typically points toward capitalization? Do you have itemized invoices describing labor, materials, and scope, which are critical support in any dispute?
Worked example: You pay $650 to patch a small roof leak and replace damaged shingles. This is often a repair. But a $14,500 full roof replacement is typically an improvement that would be depreciated as a separate asset. Publication 527 explains that improvements must be recovered through depreciation rather than expensed like routine repairs.
What to do now: Split invoices when possible. If a contractor can separately invoice repair items versus betterment items, you have stronger support for the portion currently deductible in the year incurred. Also write a one-paragraph purpose memo for big projects. Save a short note explaining what failed, what you did, and why it qualifies as a repair or improvement. Pair it with before and after photos and the invoice.
Pitfall to avoid: Calling turnover work a repair when it is clearly a remodel with new kitchen cabinets, layout changes, or full flooring replacement across a unit. Those facts can undermine credibility if the return is examined.
Mini case study: A short-term rental host renovated a bathroom and also fixed a running toilet in a different unit. By categorizing the toilet repair as repairs and maintenance and capitalizing the bathroom renovation as an improvement with its own placed-in-service date, the host kept records clean and avoided an end-of-year scramble to reclassify expenses after the fact.
4. Operating Expenses: The Everyday Deductions That Add Up
What they are: Operating expenses are ordinary and necessary costs to manage, conserve, and maintain your rental property. They are typically deducted in the year incurred and reported on Schedule E in categories including advertising, cleaning and maintenance, commissions, insurance, legal and professional fees, management fees, utilities, and supplies. Publication 527 and Schedule E instructions emphasize allocating costs when a property has mixed rental and personal use.
What landlords commonly miss: Bank charges tied to rental accounts. Tenant screening fees. Software subscriptions used for rental bookkeeping. Small tools and supplies used exclusively for maintenance. Professional services including CPA fees, attorney fees for drafting a lease, and eviction filing fees, though deductibility of legal fees depends on facts and timing and can be nuanced.
Worked example: You self-manage a single-family rental. In 2026 you pay $1,450 in insurance, $650 for lawn care, $310 in listing fees, $980 to a plumber, $1,200 for CPA and tax prep, and $720 for a bookkeeping subscription used solely for your rentals. These are generally operating expenses deductible on Schedule E, subject to capitalization rules if any invoice is actually for an improvement.
What to do now: Use Schedule E categories all year rather than only at tax time. If you bucket expenses the way Schedule E expects throughout the year, you reduce errors and rework at filing. Also attach every expense to a property and a purpose. Multi-property landlords should tag each receipt to a specific address or unit and category so that any question about what was spent where can be answered in seconds.
Pitfall to avoid: Lumping large vague totals into one line such as calling everything repairs or other without supporting invoices. If you are ever asked to substantiate, you want a clean trail showing payee, date, amount, purpose, property, and supporting document.
5. Travel Deductions: Mileage, Trips, and Documentation
What they are: Travel costs can be deductible when they are ordinary and necessary for your rental activity, covering property visits for repairs, meeting contractors, buying supplies, or collecting rents where applicable. The catch is that travel is easy to abuse and easy to document poorly, which makes it a frequent scrutiny point.
IRS anchor: While Publication 463 is the IRS travel and vehicle substantiation guide, the key principle is consistent documentation covering business purpose, date, destination, and mileage or expense records.
Eligibility checklist: The trip is primarily for rental business. You can document date, miles, and purpose. You allocate mixed-purpose trips and claim only the business portion.
Worked example: You drive 18 miles round-trip to meet a plumber at your rental, then 12 miles round-trip to pick up a replacement smoke detector. You log each trip with date, starting and ending odometer reading or an app mileage capture, the property address, and the purpose. Your deduction is total miles multiplied by the applicable IRS standard mileage rate for the tax year.
What to do now: Log mileage in real time rather than reconstructing it later. Reconstructed logs are weak if questioned. Use an app or a simple form that captures purpose and property for each trip at the time it happens. Keep receipts for away-from-home travel. If you travel overnight primarily for rental business, retain lodging receipts and a schedule showing the business activities conducted.
Pitfall to avoid: Claiming commuting miles as rental travel. Driving from home to your W-2 job or any unrelated workplace is not rental business mileage, and mixing categories is a classic red flag.
Mini case study: A small-portfolio landlord with three properties was consistently under-claiming travel because receipts and mileage records were scattered. After switching to a system that captures trips and ties them to properties, they stopped missing deductible supply runs and contractor visits and reduced time spent reconstructing mileage records at year-end.
6. Home Office and Administrative Costs: When You Can Legitimately Claim Them
What they are: Home-office and administrative costs can be deductible when you use part of your home regularly and exclusively for managing your rental activity and it is your principal place of business for that activity. Even if you do not qualify for a home-office deduction, you may still deduct direct administrative expenses tied to rentals including postage, a dedicated phone line, office supplies, and bookkeeping and tax preparation costs when they are ordinary and necessary.
Eligibility checklist for the home office: Regular and exclusive use of a specific area. Used for rental management activities including communications, bookkeeping, tenant screening, and lease work. You can substantiate with a simple floor plan measurement, photos, and utility bills.
Worked example: You manage a four-plex from a dedicated 120 square foot office in a 1,200 square foot home, representing 10% of the space. If eligible, you may allocate 10% of qualifying home expenses such as utilities and certain maintenance to your rental administrative activity, plus deduct 100% of direct office expenses like a desk or printer used solely for rentals, subject to depreciation rules for equipment.
What to do now: Separate admin from property expenses. Tag costs as either property-specific such as Unit 2 plumbing or portfolio admin such as bookkeeping and office supplies. This prevents double-counting and makes Schedule E preparation cleaner at filing time.
Pitfall to avoid: Claiming a home office that is not exclusive, such as a dining table or shared guest room. If you cannot defend exclusivity, focus instead on the clearly deductible administrative expenses you can fully support such as tax preparation fees, software subscriptions, postage, and a dedicated landlord phone line.
Mini case study: A single-family landlord tried to claim a home office but realized the space doubled as a guest room. They skipped the home-office allocation and instead tightened administrative deductions they could fully support, keeping their file clean and defensible without sacrificing legitimate write-offs.
Year-Round Checklist: Stay Audit-Ready
Create a separate bank account and card for rental activity to keep funds clearly segregated from personal transactions.
Save your Closing Disclosure and loan documents and track points and origination fees for amortization over the life of the loan rather than treating them as a single-year deduction.
Maintain a fixed-asset list covering building basis less land, improvements, appliances, and other depreciable items with placed-in-service dates for each.
Categorize every transaction to a Schedule E category and a specific property or unit at the time it happens rather than sorting it all at year-end.
Store invoices, receipts, and contracts with short notes indicating what was purchased, why it was purchased, and which property it relates to.
Keep mileage and travel logs contemporaneously with date, miles, purpose, and property recorded at the time of each trip.
Review the repairs-versus-improvements classification quarterly and reclassify before year-end if needed rather than discovering a misclassification during filing.
Frequently Asked Questions
When do I report rental income and expenses on Schedule E?
You generally report rental income and deductible expenses annually on Schedule E with your Form 1040. The Schedule E instructions explain the expense categories and how to report them consistently. All rental income received during the year is reported, and deductible expenses are listed by category for each property.
Can I depreciate appliances separately from the building?
Often yes. Publication 946 explains that different assets can have different recovery periods under MACRS. Appliances and certain personal property typically depreciate over shorter lives than the 27.5-year building, which can accelerate deductions when tracked and documented correctly from the time of purchase.
What are passive loss limits and can they reduce my deduction this year?
Rental real estate is commonly treated as a passive activity with limited exceptions, which can restrict how much loss you can use against other income in a given year. If losses are limited under the passive activity rules, they typically carry forward to future years when you have passive income or sell the property.
If I did not take depreciation in prior years, can I fix it?
Often yes, but the correction method depends on the facts and may involve an accounting method change filed with the IRS. At a minimum, understand that depreciation affects gain calculations and may be subject to recapture rules when you sell, regardless of whether you actually claimed the deductions in prior years. Consult a tax professional before attempting a catch-up correction.
If you want to maximize deductions and reduce compliance stress, make this your operational standard: every expense should be categorized to the right Schedule E line, tied to the right property or unit, and backed by a retrievable source document. Start by running a Schedule E readiness check using the checklist above.
Book a demo to see how Shuk's expense tracking, receipt organization, and property-level categorization tools help you keep records tax-ready throughout the year rather than scrambling at filing time.