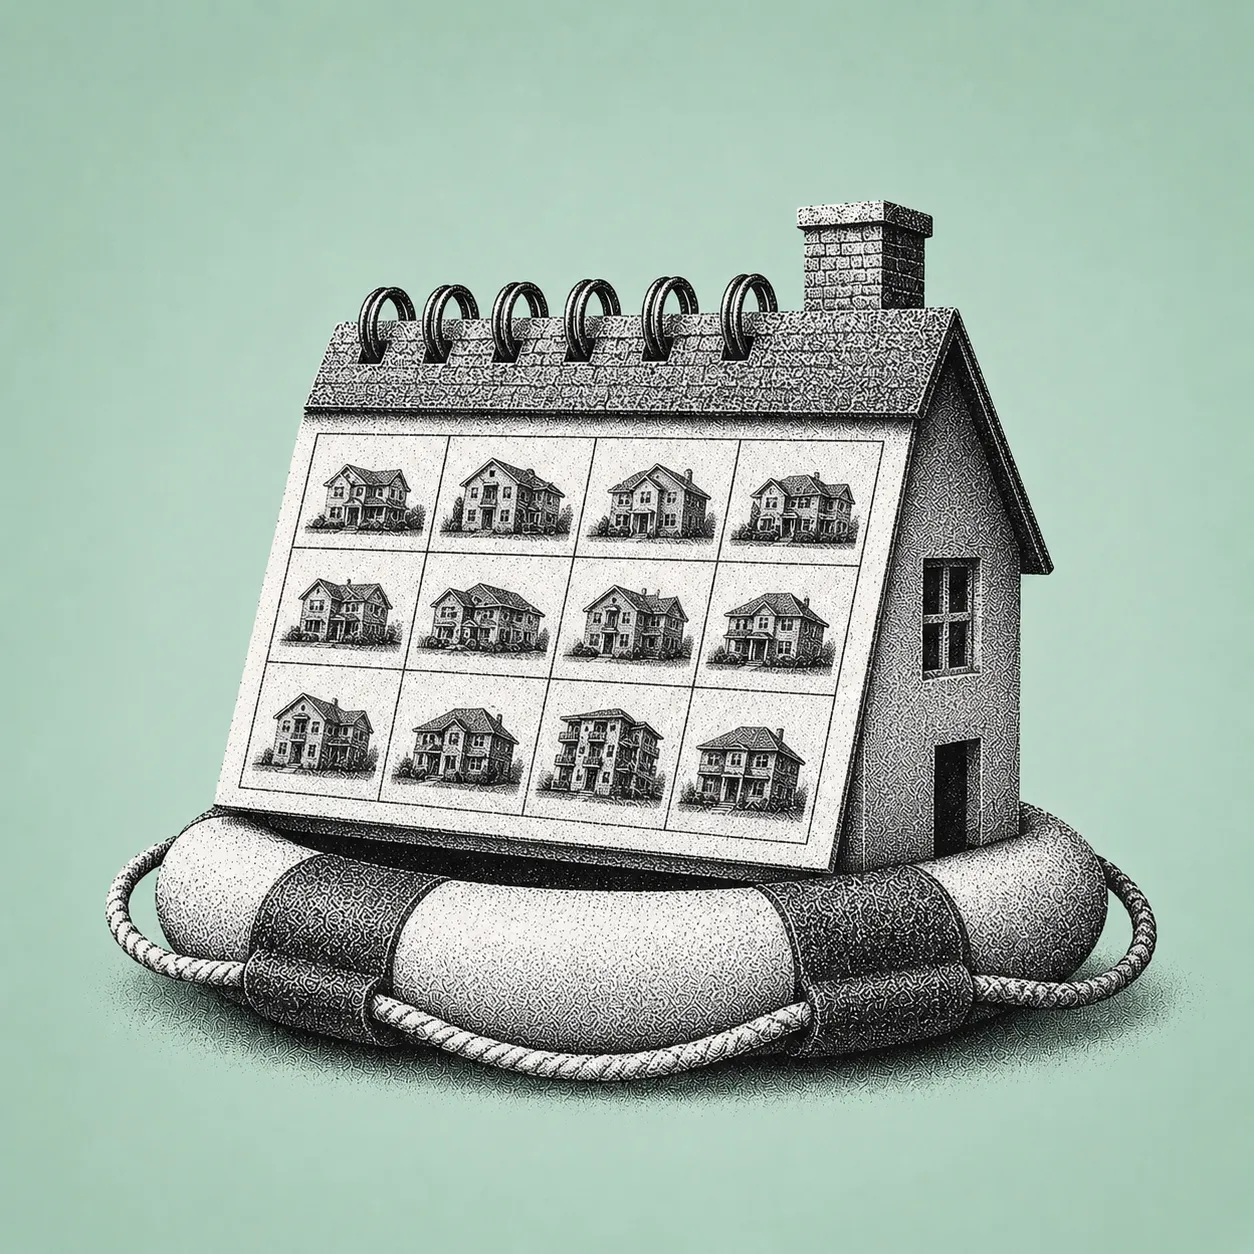
How to Handle Tenant Turnover: A Step-by-Step Checklist to Cut Vacancy Days and Protect Your Property
Tenant turnover is where rental income and property condition are won or lost. One move-out can trigger a chain reaction: unclear notice dates, missed inspection opportunities, deposit disputes, delayed vendors, stale listings, and ultimately extra vacancy days you cannot get back.
Those empty days are not theoretical. Industry reporting breaks down turnover costs as a mix of hard expenses covering cleaning, paint, repairs, lock changes, and flooring, and soft costs especially lost rent, which can represent 35% to 50% of total turnover expense. When you add it up, turnover commonly lands anywhere from $1,000 to $5,000 per move-out depending on unit condition and market, and one analysis pegged average turnover at approximately $3,872 per resident.
The other challenge is time. Even if your make-ready only takes two weeks, the end-to-end vacant-to-leased period can stretch longer when you factor in marketing, showings, screening, and lease signing. Recent analytics showed average vacant days climbing to 34.4 days by the end of 2024. For independent landlords and property managers, that is a painful drag on cash flow, especially when you are juggling maintenance coordination, compliance deadlines, and tenant communications across text threads and spreadsheets.
This playbook is designed to turn turnover into a repeatable system. You will get an end-to-end checklist from move-out notice through move-in onboarding with practical timelines, legal guardrails especially around security deposits, and efficiency tactics that reduce vacancy days while protecting the asset.
Why Turnover Deserves a System, Not Just a To-Do List
Turnover is unavoidable. Preventable chaos is not. Here is what you are protecting with a disciplined process: revenue continuity through minimized vacancy days and lost rent, asset value through consistent standards in cleaning, paint, repairs, and preventive maintenance, and legal compliance especially around deposits, notices, and documentation.
Vacancy time has expanded in many markets. General operational targets often aim for 20 to 30 vacant days for typical properties while market-wide averages can rise above a month. If you wait to market until the unit is empty, start calling vendors after keys are returned, and assemble deposit documentation at the last minute, you are choosing a longer downtime.
This guide walks you through a practical turnover workflow in ten steps matching the real sequence you experience: move-out notifications and confirmation, pre-move-out instructions and scheduling, inspections with photos, security deposit reconciliation and state deadlines, repairs and cleaning and make-ready planning, preventive maintenance upgrades, marketing and re-listing, tenant screening and selection, lease signing and compliance documentation, and move-in onboarding that prevents the next turnover.
Adopt even half of this system and you will reduce friction, create a consistent resident experience, and build a turnover engine that scales from one unit to one hundred without burning you out.
Ten Steps to Reduce Vacancy Days and Protect Your Property
Step 1. Confirm Notice, Lease End Date, and Local Requirements
Start the turnover the moment you receive notice because every day you delay planning becomes vacancy later. Verify the lease end date, the required notice period, and how notice must be delivered whether by email, written letter, or portal. Month-to-month notice is commonly 30 days but can vary by state and circumstance. California can require 30 or 60 days depending on length of tenancy. In Texas, month-to-month is generally tied to one rental period of approximately 30 days.
What to do: Send a written notice-received confirmation that includes the tenant's confirmed move-out date and time, a forwarding address request which is critical for deposit mail in some states, and a timeline of inspections, utilities, and key return.
Use templates and automated reminders so you are not rewriting the same messages every turnover. Centralizing dates in one calendar covering notice received, pre-inspection, move-out, and deposit deadline reduces missed deadlines and he-said-she-said disputes.
Step 2. Send a Pre-Move-Out Instruction Pack
A clean, consistent move-out process protects your unit and your deposit accounting. Within 24 to 48 hours of notice, send a move-out instruction pack covering cleaning expectations for appliances, bathrooms, floors, and trash removal; what counts as normal wear versus tenant-caused damage with defined examples; rules for patching holes, nail removal, and paint touch-ups if you allow tenant repairs; how to return keys, garage openers, and fobs; and utility transfer requirements.
This step reduces your make-ready scope and speeds listing photo readiness. Turnover cost analyses consistently include cleaning, painting, and junk removal as major line items. If your tenant understands standards early, you are more likely to avoid paying for avoidable labor.
A practical 48-hour countdown to include in your message: At T-minus 48 hours, confirm elevator reservation if applicable and final walkthrough appointment. At T-minus 24 hours, remove all belongings, wipe down appliances, and bag trash. On move-out day, take photos, drop keys, and record meter reads if relevant.
Also schedule a pre-move-out walkthrough where allowed. It reduces conflict by aligning on what will be billed before there is a dispute rather than after.
Step 3. Pre-Inspection and Early Scope of Work
If your state and local rules allow, do a pre-move-out inspection one to two weeks before the tenant leaves. The point is not to nitpick. It is to identify safety issues or major repairs that will block leasing, pre-order materials including paint, blinds, filters, and smoke and CO batteries, and get vendor bids scheduled so day one after move-out is productive rather than spent making calls.
Industry estimates place make-ready costs anywhere from $400 to $5,000 or more depending on condition. The earlier you define your scope of work, the more you can keep costs toward the low end.
A standardized inspection rubric with lease-ready minimums: All lights working with covers intact. No active leaks and drains clear. Appliances functional. Doors and locks operating smoothly. Walls with a patch, sand, and paint plan. Floors with a clean, repair, or replace plan.
Create tasks directly from inspection results and assign them to staff or vendors with due dates so nothing exists only in your head.
Step 4. Move-Out Day: Document Condition Like It Is Evidence, Because It Is
Your move-out inspection should be consistent, photo-rich, and time-stamped. Photograph each room from multiple angles, close-ups of damage covering chips, stains, holes, and broken fixtures, appliances inside and out, floors and baseboards, outdoor areas including patio and yard condition, and keys and fobs returned with a count recorded.
This documentation directly supports deposit deductions and protects you if disputes escalate. Many state deposit statutes require an itemized statement of deductions within a specific deadline window often alongside the refund. Photos combined with an inspection checklist make your itemization far easier to justify and far harder to dispute.
Complete the inspection immediately after possession returns when keys are surrendered to avoid ambiguity about post-move damage. If you allow early key return, document the exact surrender date and time in writing.
Also initiate lock changes and re-key immediately after move-out. Lock changes are a standard line item in turnover cost breakdowns and a safety expectation for professional operations.
Step 5. Security Deposit Reconciliation: Meet Deadlines, Itemize Correctly, and Avoid Penalties
Deposit handling is where small process errors can become expensive. Many states require deposit return within 14 to 60 days and several impose strict penalties for late or incorrect handling.
State-specific timelines to know:
California requires return within 21 days with itemized deductions and potential penalties up to two times the deposit for bad-faith retention.
Texas requires refund within 30 days after surrender, often tied to receiving a forwarding address, with bad-faith penalties that can include $100 plus triple damages plus attorney fees.
Florida requires return within 15 days if no deductions are taken. If claiming deductions, written notice must be sent within 30 days and the tenant has 15 days to object. Missing the notice can forfeit the right to withhold.
New York requires return within 14 days with an itemized statement, and missing the deadline can forfeit the right to keep any portion.
Illinois timelines vary based on whether deductions are taken, typically requiring itemization within 30 days and return of the remainder within 45 days.
Best practice workflow: Export the rent ledger and confirm the balance covering rent, fees, utilities, and damages. Separate wear-and-tear from chargeable damage consistently. Attach invoices and receipts when required or when deductions are substantial. Send the itemization and refund via a trackable method. Deadline tracking, templated itemization letters, attachment storage, and recorded delivery reduce legal exposure significantly.
Step 6. Build a 7 to 14 Day Make-Ready Plan With a Day-Zero Vendor Schedule
Treat make-ready like a project plan rather than a to-do list. Your edge comes from scheduling vendors before the unit is empty rather than after move-out.
Example: a three-day repaint schedule that is tight but realistic with proper preparation.
Day zero, the move-out afternoon: patch and sand, clean walls, tape and cover surfaces.
Day one: prime plus first coat with a two-person crew.
Day two: second coat plus trim and door touch-ups.
Day three morning: walkthrough plus punch-list fixes with photos taken the same afternoon.
Pair this with parallel rather than sequential tasks: Schedule the cleaner immediately after paint cures. Have the flooring vendor on standby for spot repairs. Have maintenance handle smoke and CO batteries, HVAC filter, caulk, and fixtures while paint dries.
Because lost rent is often the biggest turnover expense component, shaving even a week off downtime can materially change your annual return on investment.
Step 7. Do Not Skip Preventive Maintenance
Turnover is the best time to do preventive work with minimal resident disruption. Industry maintenance ROI summaries cite findings that preventive maintenance can deliver a 545% return over 25 years and significantly reduce long-run repair costs. Even if your holding period is shorter, the principle holds: preventive maintenance reduces emergency calls, protects your unit, and helps retain the next tenant longer.
High-impact turnover preventive maintenance items: HVAC service plus filter standardization. Water heater inspection covering leaks, the pan, and straps where applicable. Replacement of worn supply lines in bathrooms and kitchens. GFCI testing and outlet and plate replacement. Door weatherstripping to reduce drafts and complaints. Deep cleaning of dryer vents to reduce risk and improve performance.
Create a turnover PM kit per unit type, such as one-bedroom or two-bedroom, with standard parts. Standardization saves time and reduces vendor dependency.
Step 8. Market Early, Keep Listing Visibility Continuous, and Price With Data
Marketing should start while the unit is still occupied if your local rules and tenant privacy considerations allow showings with proper notice. This continuous visibility reduces dead time between make-ready completion and lease signing. General benchmarks suggest aiming for 20 to 30 vacant days, but recent market data showed averages above that, making early marketing a competitive necessity.
What reduces vacancy days: Pre-schedule photography for day one or two after make-ready. Create a listing template with swap fields for rent, deposit, and availability date. Use a showing calendar to batch tours and reduce back-and-forth scheduling. Post a coming-soon notice with an accurate availability date and avoid bait-and-switch situations.
Mini math example: If rent is $2,100 per month, that is approximately $70 per day in gross rent. A make-ready plus leasing delay that extends vacancy from 14 days to 34 days adds approximately 20 days, or approximately $1,400 in gross rent not collected. That is before utilities, yard care, or additional marketing, reinforcing why lost rent dominates turnover costs.
Step 9. Screening: Standardize Criteria, Document Decisions, and Reduce Fair Housing Risk
A rushed screening decision can create the worst kind of savings: a short vacancy followed by late payments, property damage, or another turnover. Build a consistent process covering written screening criteria for income, credit, and rental history; the same application steps for every applicant; and documented adverse action where required in compliance with local rules.
A practical service-level agreement for yourself: Applications reviewed within 24 hours. Verification calls completed within 48 hours. Approval or decline decision communicated within 72 hours.
This matters because turnover already costs thousands per move-out. Avoid compounding the problem with preventable resident churn. Centralizing applications, storing consent forms, tracking communications, and keeping an audit trail is useful if decisions are questioned later.
Step 10. Lease Signing and Move-In Onboarding: Reduce Future Turnover Before Day One
Lease signing is not the finish line. Onboarding is where you prevent the next turnover. Your goals are to set expectations around maintenance reporting, noise, pets, and parking; make rent payment easy and consistent; and capture baseline condition documentation before disputes can arise.
Move-in best practices: Collect funds for first month and deposit as cleared payment before handing keys. Provide a move-in checklist with photo instructions. Confirm how to submit maintenance requests and what constitutes an emergency. Deliver care and cleaning guidance for countertops, floors, and HVAC filters.
Less friction translates into fewer late payments, fewer misunderstandings, and better retention, lowering the turnover frequency that drives those $1,000 to $5,000 move-out costs.
Vacancy Cost Comparison: Reactive vs. Proactive Turnover
Reactive turnover: Market late, vendors scheduled after move-out, no standardized checklist. Approximately 34 vacant days at $70 per day equals approximately $2,380 in gross rent lost.
Proactive turnover: Market early, vendors pre-booked, standardized checklist applied. Approximately 18 vacant days at $70 per day equals approximately $1,260 in gross rent lost.
Difference: Approximately 16 days and approximately $1,120 saved, not including reduced make-ready expenses from early standards communication or reduced legal risk from tracked deposit deadlines.
Tenant Turnover Checklist
A. Notice and planning: Receive written notice and confirm move-out date and time in writing. Verify lease end date and required notice period for your state and local jurisdiction. Request forwarding address for deposit return. Send move-out instruction pack and cleaning standards. Schedule pre-move-out walkthrough if permitted. Pre-book vendors for paint, cleaning, flooring, and handyman with day-zero and day-one slots reserved.
B. Inspections and documentation: Prepare inspection rubric and photo checklist. Conduct move-out inspection immediately after surrender. Take time-stamped photos and video of every room plus close-ups of all damage. Record key and fob count returned and schedule re-key and lock change. Capture meter reads and utility status if applicable.
C. Deposit and compliance: Reconcile ledger covering rent, fees, and utilities balance. Separate wear-and-tear from chargeable damage. Collect vendor invoices and receipts for deductions where required. Send itemized statement and refund within your state deadline with delivery tracked.
D. Make-ready execution: Finalize scope of work and budget covering materials, labor, and contingency. Complete repairs affecting safety and habitability first. Execute paint plan covering patch, prime, and coats. Schedule deep clean after dust-producing work. Replace consumables including filters, bulbs, and batteries and test smoke and CO devices. Complete preventive maintenance covering HVAC, plumbing checks, caulk, and GFCIs. Conduct quality-control walkthrough and punch list.
E. Re-listing and leasing: Update photos and listing description using a template. Set an accurate coming-soon or available date. Schedule showings in batches and follow up with applicants within 24 hours. Apply screening criteria consistently and document decisions. Issue lease, obtain signatures, and collect funds as cleared payment.
F. Move-in onboarding: Provide move-in checklist with photo instructions. Confirm maintenance request process and emergency protocol. Provide rules covering trash, parking, pets, and noise. Deliver keys and fobs and confirm receipt in writing. Schedule optional 30-day check-in to address early issues before they escalate.
Frequently Asked Questions
How long should tenant turnover take from move-out to new move-in?
There is no single national standard because vacancy time includes both make-ready and leasing time. Some operators report make-ready completion in roughly two weeks with leasing under three additional weeks, while broader analytics recorded 34.4 average vacant days by the end of 2024. You cannot control every market factor, but you can control your workflow. Pre-scheduling vendors, marketing early where allowed, and standardizing screening timelines are the most reliable ways to compress downtime toward a 15 to 30 day target range. If your average is consistently above a month, start by tracking where time is actually spent: waiting on bids, waiting on cleaners, slow applicant follow-up, or delayed listing photos.
What can I legally deduct from a security deposit?
Generally, and state rules vary significantly, you can deduct for unpaid rent and fees and for tenant-caused damages beyond normal wear and tear, supported by an itemized statement and documentation. New York requires return and itemization within 14 days. Florida distinguishes between no-deduction returns within 15 days and deduction claims requiring notice within 30 days. California requires return within 21 days and may require receipts depending on deduction amount. Because penalties can include forfeiture of withholding rights or statutory damages, treat deposit handling like compliance work with consistent inspection photos, clear invoices, and deadline tracking.
Should I renovate during turnover or just do minimum make-ready?
It depends on rent upside and your holding strategy, but do not confuse minimum make-ready with no preventive maintenance. Lost rent can represent 35% to 50% of total turnover cost, so prolonged renovations can erase returns if they extend vacancy too far. A balanced approach is lease-ready now plus preventive maintenance always. Use turnover for fast, high-impact work including paint refresh, fixture swaps, and hardware standardization alongside preventive items that reduce future emergencies. If you are considering a bigger upgrade, run the math: added rent times expected tenancy length minus renovation cost minus additional vacancy days.
How do I reduce turnover time if I only manage a few units and do not have staff?
Your advantage is agility if you build a repeatable system. Start by templating everything: notice confirmation, move-out instructions, inspection rubric, deposit itemization letter, listing description, and screening criteria. Next, pre-build a vendor bench covering painter, cleaner, and handyman and keep turn slots reserved each month. Turnover costs commonly land in the $1,000 to $5,000 range and average vacancy days can exceed a month, so even a small reduction in downtime is meaningful cash flow. If you are overwhelmed, an all-in-one management platform is often the simplest operational upgrade: one place for leasing, screening, e-signatures, payments, maintenance, and document storage.
If tenant turnover feels stressful, it is usually not because you do not know what to do. It is because the process is spread across too many tools, too many messages, and too many mental reminders. The checklist above works best when it is operationalized so tasks generate automatically when notice is received, deposit deadlines are tracked by state, vendors and inspections are scheduled from a single calendar, listings publish quickly, applications flow into one screening pipeline, and all documentation is stored in one place.
Book a demo to see how Shuk's turnover tools work, including task templates, automated reminders, centralized documents, leasing and screening pipeline, and move-in onboarding workflows, so your next turnover is the last one you manage through scattered notes and last-minute scrambling.
.webp)