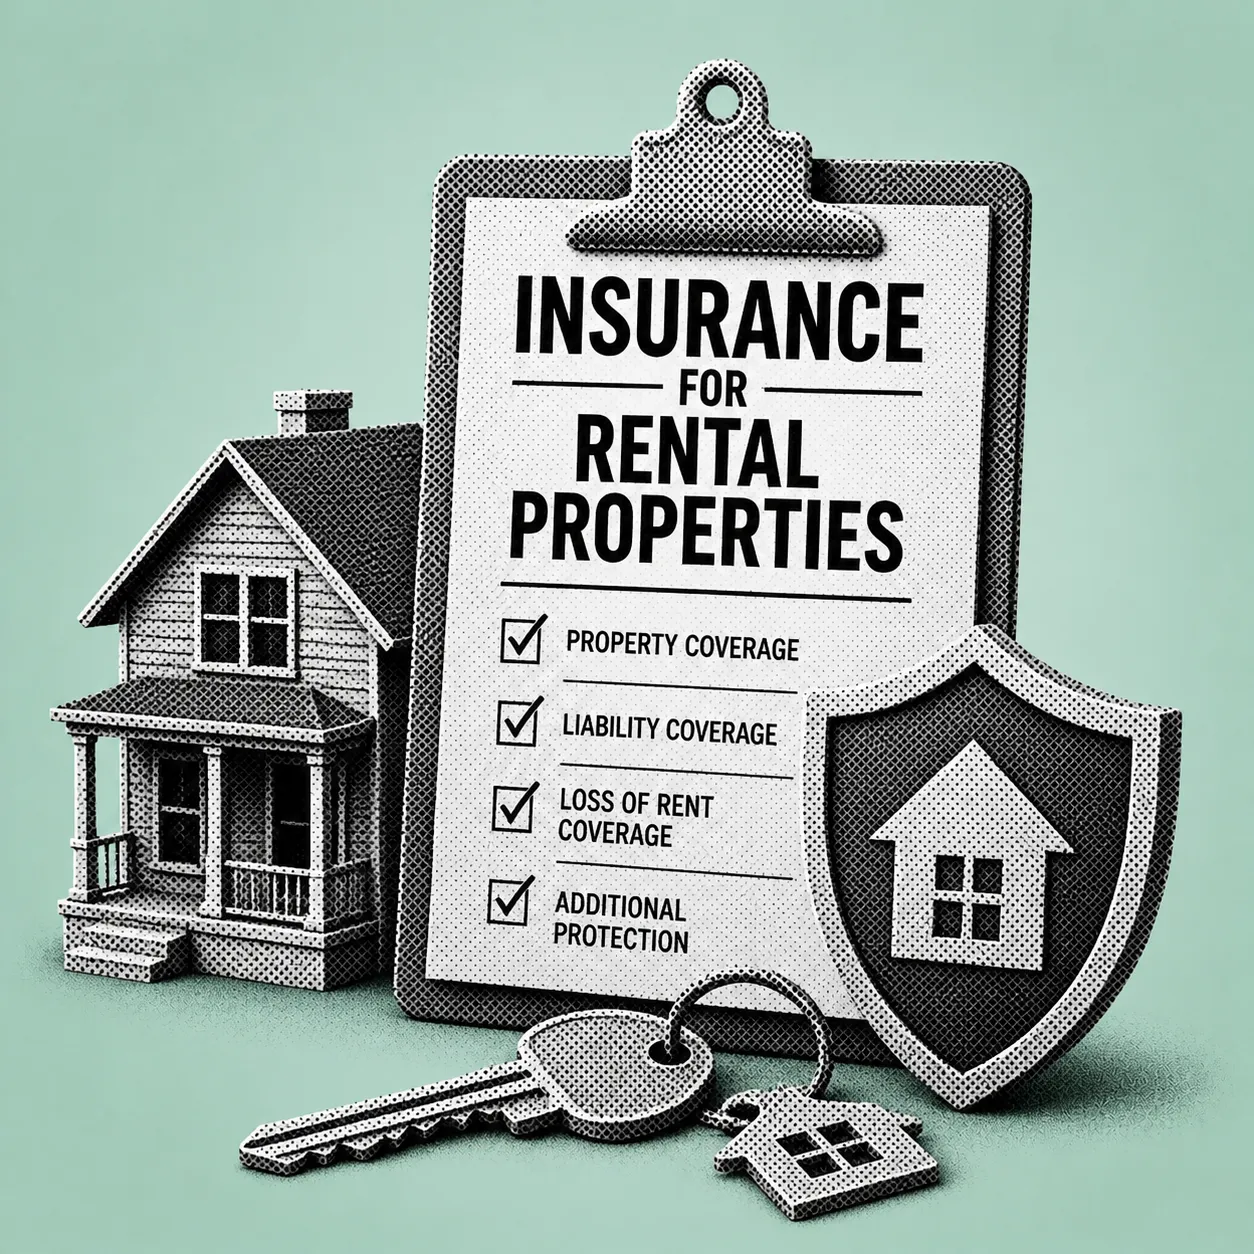
Insurance for Rental Properties: The Coverages Landlords Actually Need and How to Choose the Right Limits
You can screen tenants carefully, maintain the property, and collect deposits and still take a six-figure hit from one loss your policy does not fully cover. The most common reason is not bad luck. It is mismatched insurance.
Many self-managing landlords unknowingly buy the wrong form, often a homeowners policy designed for owner-occupied homes rather than tenant-occupied rentals. Others choose limits based on purchase price instead of rebuild cost, or skip the endorsements that seem small until a real claim arrives. A burst pipe that forces your tenants out for eight weeks can erase a year of profit if your loss-of-rent coverage is too low or does not apply. A slip-and-fall on icy steps can turn into a lawsuit where defense costs alone become the main financial threat, especially if you carry minimal liability limits. And if your rental sits vacant during turnover, some policies sharply restrict coverage after a set period unless you plan ahead.
This guide covers which coverages actually protect a rental, which default policy features are often missing, and how to pick limits using a framework tied to rebuild cost, rent, local hazards, and your net worth. You will also get real cost benchmarks so you can sanity-check quotes in today's higher-priced market.
What You Will Learn and Why It Matters
Landlord insurance is not one thing. It is a bundle of decisions. At the center is a Dwelling Property policy form, often called DP-1, DP-2, or DP-3. The form you choose controls how losses are covered, either named perils or open perils, while the limits you choose control how much the insurer may pay. The DP-3 Special Form is commonly viewed as the most robust: it generally provides open-perils coverage for the dwelling and other structures, while personal property is typically covered on a named-perils basis. Importantly, liability is not automatic in the DP-3 form. You add it.
The six core building blocks of a landlord policy: Coverage A for the dwelling, Coverage B for other structures, Coverage C for landlord personal property, Coverage D for loss of rent and fair rental value, Coverage E for liability, and Medical Payments for smaller injuries. Each one is a separate decision, not a default.
By the end of this guide you will have a decision framework you can reuse for every property: select the right policy form, set limits based on your actual exposure rather than the purchase price, close the common gaps with endorsements, and stack liability properly with an umbrella when it makes sense.
The Eight-Step Landlord Insurance Decision Framework
Step 1. Start With the Right Policy Form: DP-1 vs. DP-2 vs. DP-3
The form determines whether you are covered for a short list of named perils, which is more restrictive, or a broader open-perils approach, which is more protective. The DP-3 Special Form generally provides open-perils coverage for the dwelling and other structures, meaning a loss is covered unless it is specifically excluded, while personal property coverage is typically named-perils.
If your goal is fewer claim disputes about cause of loss, DP-3 is usually the cleanest starting point assuming it is available for your property and insurer appetite. Named-peril forms can still be appropriate for low-value properties or when the market pushes you there, but understand what you are trading away: more situations where you may have damage yet no covered peril.
Real-world example: A tenant reports staining on the ceiling after a heavy rain. With an open-perils approach on the dwelling, you are often starting from "covered unless excluded" and then evaluating specific exclusions. With named perils, you may first have to prove the cause fits one of the listed perils. Either way documentation matters, but the form changes the burden of proof and the friction level at claim time.
When you request quotes, ask in writing: "Is this DP-3 Special Form on the dwelling? Is the dwelling settlement Replacement Cost or Actual Cash Value?"
Step 2. Coverage A: Set the Limit by Rebuild Cost, Not Purchase Price
Coverage A protects the physical structure and is your main financial lever. It sets the maximum available to repair or rebuild after covered damage.
How to choose a limit: Use the replacement cost to rebuild covering labor, materials, and contractor overhead at current prices, not what you paid for the property and not an online estimate. Land value is not insured. Rebuild cost is. If your insurer provides a replacement cost estimator, review the inputs covering square footage, roof type, and quality grade. Unique properties with historic features or high-end finishes require accurate specs rather than a standard calculator output.
Replacement Cost versus Actual Cash Value math: Replacement Cost pays what it costs to replace damaged property with like kind and quality without depreciation. Actual Cash Value generally equals replacement cost minus depreciation for age and wear. Here is a simplified example: a 15-year-old roof would cost $18,000 to replace. If depreciation is estimated at 50%, an ACV settlement might start around $9,000 before the deductible, leaving you to fund the difference out of pocket. RC may still involve additional steps depending on policy conditions, but the point is that ACV shifts aging-related costs to you.
Cost benchmark: Landlord policies commonly run 15% to 25% higher than homeowners insurance because rentals present different risks and claim patterns. This varies by location and underwriting.
If you are trying to control premium, increase the deductible before you downgrade dwelling settlement to ACV, especially on properties where a single large loss would strain your cash reserves.
Step 3. Coverage B: Do Not Forget Detached Garages, Fences, and Sheds
Coverage B covers structures set apart from the dwelling including detached garages, storage sheds, and fences depending on policy definitions. Underinsuring this line is common because landlords focus on the main structure.
Limit approach: Inventory what it would cost to rebuild each detached structure. A detached garage may run $25,000 to $60,000 depending on size and finishes. Fences add up quickly. If your policy sets Coverage B as a percentage of Coverage A, confirm the resulting dollar amount is actually sufficient for your site.
Real-world scenario: A wind event destroys a detached garage roof and damages the framing. Your Coverage A may be perfectly sized, but if the garage replacement value is $40,000 and Coverage B is capped at $20,000, you have a structural gap that no amount of good Coverage A will fix.
Take ten minutes: walk the property, list every detached structure, and roughly price each one. Then set Coverage B intentionally rather than accepting the default.
Step 4. Coverage C: Insure What You Own, Not What the Tenant Owns
Tenants' belongings are not your responsibility to insure under your landlord policy. Coverage C is for your property kept at the rental: appliances you provide, maintenance tools stored on-site, lobby furniture in a small multifamily, or landlord-owned furnishings in a furnished unit.
If your property is unfurnished and the tenant supplies everything, you may need very little Coverage C. If you include appliances such as a refrigerator, range, or washer and dryer, you likely need more. DP-3 forms typically treat personal property as named-perils coverage unless endorsed otherwise.
Short-term rental note: If you rent furnished or operate on platforms like Airbnb, your personal property exposure increases substantially covering beds, couches, linens, and kitchenware. Standard landlord policies may not contemplate frequent guest turnover or business-like activity without a short-term rental endorsement designed for that use case.
Make your Coverage C limit match the replacement cost of what you would buy tomorrow to re-furnish or re-equip the unit, then verify whether settlement is Replacement Cost or ACV for contents.
Step 5. Coverage D: Match the Timeline of Real Repairs, Not Your Best-Case Scenario
Coverage D, often called Fair Rental Value or Loss of Rent, replaces rental income when the property is uninhabitable due to a covered loss. It is one of the most misunderstood coverages: it does not pay for general vacancy. It pays when a covered peril causes the loss of use during the period of restoration.
Real-world example: A supply line bursts in an upstairs unit, soaking drywall and flooring. Remediation and rebuild take eight weeks due to drying time and contractor backlog. Rent is $2,200 per month. Your lost rent is roughly $4,400. If your Coverage D is capped at $4,000, you are short even before considering partial loss of rent, additional cleanup delays, or permit timelines.
How to pick a limit: Start with six to twelve months of gross rent as a planning range, then adjust for your market's rebuild times and whether you are in a catastrophe-prone area where contractors become scarce after a regional event. If it is a multi-unit building, consider whether a single loss could displace multiple units such as a fire in a common attic or a plumbing stack failure. That scenario pushes you toward higher limits.
Ask your agent in writing: "Is loss of rent limited to a dollar amount, a time period, or both? Is it based on fair rental value or scheduled rent?" Policy language varies and you should not assume.
Step 6. Coverage E and Medical Payments: Protect Your Balance Sheet From Injury Claims
Property damage can be expensive, but liability losses can be financially devastating because they involve both legal defense and potentially large judgments. Coverage E helps pay for legal defense and damages if you are found responsible for bodily injury or property damage to others. Medical Payments can cover smaller injuries regardless of fault and may reduce the chance a minor incident becomes a lawsuit.
Slip-and-fall scenario: A tenant's guest slips on icy steps, fractures an ankle, and alleges inadequate snow and ice removal. Even before any settlement, defense costs can add up quickly. The right question is not whether you will win. It is whether you can afford to defend the case.
Limit guidance: Many landlords start at $300,000 to $500,000 liability on the landlord policy and then add an umbrella for catastrophic cases. If you have higher net worth, multiple properties, a pool or trampoline, or frequent guest traffic from short-term rentals, pushing to $1 million in underlying liability is often a sensible base.
Stacking strategy with an umbrella: An umbrella sits above your underlying policies covering landlord and auto. The umbrella typically requires minimum underlying limits, and if you are under those minimums you may have a gap. Consider an umbrella when a single serious injury could exceed your landlord liability limit.
If you use a property manager, ask about adding them as an additional insured where appropriate so that liability arising out of property conditions does not become a coverage dispute between parties.
Step 7. Close the Common Gaps With Endorsements
Most landlord policies cover the obvious perils including fire and wind, but landlords get hurt by secondary costs covering code upgrades, water backup damage, and system failures that standard forms often exclude or limit.
Ordinance or Law and Building Code Upgrade: After a covered loss, rebuilding may require you to meet updated building codes covering wiring, smoke and CO detectors, sprinklers, or hurricane straps. Ordinance or law coverage helps pay those extra costs beyond simply putting the property back the way it was. Older properties and jurisdictions with aggressive code enforcement should strongly consider this endorsement.
Water Backup: Water backup is a classic "I assumed it was covered" loss. Many policies exclude or limit damage from sewer or sump pump backup unless you add a specific endorsement. A basement unit damaged when the sewer backs up during a heavy storm is not necessarily covered just because the policy covers "water damage" from a burst pipe.
Equipment Breakdown: This covers sudden, accidental mechanical and electrical breakdown of systems like HVAC units, water heaters, or electrical panels, events that are not always covered under standard property perils. Equipment breakdown coverage fills the gap between a normal covered peril and a mechanical failure.
Theft and Burglary: Some dwelling forms limit theft coverage unless endorsed, particularly in landlord contexts. Verify whether theft is included or requires a separate broadening endorsement.
Think in buckets when evaluating your coverage: Can you rebuild? That is Coverage A and B plus ordinance and law. Can you keep cash flow during a loss? That is Coverage D. Can you survive a lawsuit? That is liability plus an umbrella. Can you handle messy, frequent losses? That is water backup, equipment breakdown, and theft endorsements where relevant.
Step 8. Price It Realistically: Benchmarks, Drivers, and How to Reduce Costs Without Gutting Coverage
Landlord insurance pricing is highly local, but you should know whether your quote is in a reasonable range before you bind.
National benchmark range: Multiple industry summaries put typical landlord insurance at roughly $800 to $3,000 per year, with higher costs in catastrophe-exposed states and recent weather-driven pricing pressure.
Property-type and region examples:
Single-family rentals are often cited in the $2,100 to $4,000 per year range, varying widely by state and dwelling value. Texas market guides have cited approximate annual costs around $3,648. Florida is widely recognized as high-cost due to hurricane exposure, with pricing that remains sensitive to wind risk regardless of recent reform efforts.
Premium drivers to understand: Location hazards including wind, hail, and wildfire are the largest factors. Replacement cost inflation covering labor and materials has pushed limits and premiums higher. The age and condition of roof, plumbing, and electrical systems influence rating. Protection class and fire response characteristics can also affect pricing depending on local rating manuals.
Ways to reduce premium without creating large gaps: Raise the deductible only if you can comfortably cover it out of pocket. Add mitigation through roof upgrades, water leak sensors, and improved wiring or plumbing where needed since many carriers offer premium credits. Bundle policies or consolidate a portfolio with one carrier where it improves pricing and underwriting consistency. Avoid ACV on the dwelling as your savings lever unless you have modeled the worst-case out-of-pocket cost after depreciation.
Coverage Comparison: Homeowners vs. Landlord vs. Short-Term Rental
Homeowners policy: Designed for properties you live in. Renting the property out may violate occupancy rules and void coverage.
Landlord and Dwelling Policy DP-3: Designed for tenant-occupied long-term rentals. Dwelling covered on open-perils basis. Liability added as an endorsement rather than automatic. Loss of rent coverage for covered losses. Personal property coverage for landlord-owned items on the premises. Using the property as a short-term rental may be excluded without a specific endorsement.
Short-term rental endorsement or specialty policy: Designed for frequent guest turnover and host activity. Must contemplate guest injuries and higher foot traffic. Needs a lost booking income approach for revenue protection. Relying solely on platform host guarantees may leave significant gaps in coverage.
The most common and costly mismatch is using an owner-occupied homeowners policy for a tenant-occupied property. The second most common is using a standard landlord policy for a short-term rental without verifying that the policy covers the actual use.
Rental Property Insurance Checklist
Policy form and occupancy: Confirm the policy is written for tenant-occupied use rather than owner-occupied. Identify the form as DP-1, DP-2, or DP-3 Special Form. Ask about any vacancy clause restrictions during turnover. If vacancy may exceed approximately 60 days, ask about a vacancy permit or endorsement.
Property limits: Coverage A for the dwelling set to replacement cost rebuild, not purchase price. Confirm loss settlement as Replacement Cost or Actual Cash Value in writing. Coverage B for other structures covering detached garage, fence, and sheds sized to actual rebuild cost. Coverage C for landlord contents covering appliances and furnishings you own.
Income and liability: Coverage D for loss of rent confirmed as a dollar amount, a time period, or both, with the calculation method understood. Liability through Coverage E with a target of $300,000 to $1 million as a planning range. Umbrella coverage above that with underlying required limits confirmed.
Gap-closing endorsements: Ordinance or law and code upgrade coverage confirmed as yes or no. Water backup coverage confirmed as yes or no. Equipment breakdown coverage confirmed as yes or no. Short-term rental endorsement confirmed as yes or no if applicable.
Frequently Asked Questions
Can you require tenants to carry renters insurance?
In many markets landlords require it by lease terms because your landlord policy generally does not cover a tenant's belongings. Coverage C is for landlord-owned property, not tenant property. Requiring renters insurance protects both parties and reduces the likelihood of disputes after a loss affecting the tenant's possessions.
How often should you review your landlord insurance?
At minimum annually and whenever you renovate, change rent significantly, switch from long-term to short-term rental, or your property sits vacant longer than expected. Vacancy and use changes can affect coverage validity, so a policy that fit your situation last year may not fit it today.
Is flood or earthquake included in landlord insurance?
Typically not. Flood and earthquake are commonly excluded from standard dwelling policies and require separate coverage or endorsements depending on availability in your area. Run your address through FEMA's flood mapping tools to determine whether flood coverage belongs in your risk stack.
What is the biggest coverage mistake landlords make?
Using an owner-occupied homeowners policy for a tenant-occupied property is the most common and most costly mistake. The second is selecting Actual Cash Value settlement to save premium without modeling what depreciation actually costs after a major claim. Both mistakes tend to surface at the worst possible time.
Pull your current declarations page and rebuild your policy using the checklist above. Then get two competing quotes that match the same inputs covering DP-3 versus DP-3, the same deductibles, and the same endorsements so you are comparing equivalent coverage rather than comparing a full policy to a stripped one. If any quote will not clearly answer "RC or ACV" or explain how loss of rent is calculated, treat that as a red flag rather than a savings opportunity.
Book a demo to see how Shuk's expense tracking, vendor coordination, and maintenance documentation tools help you maintain the records that support a clean insurance claim if you ever need to file one.